Einkorn Sandwich Bread Recipe (Fresh Milled, One Loaf) | Ancient Grain Baking
Einkorn Sandwich Bread (Fresh Milled, One Loaf)
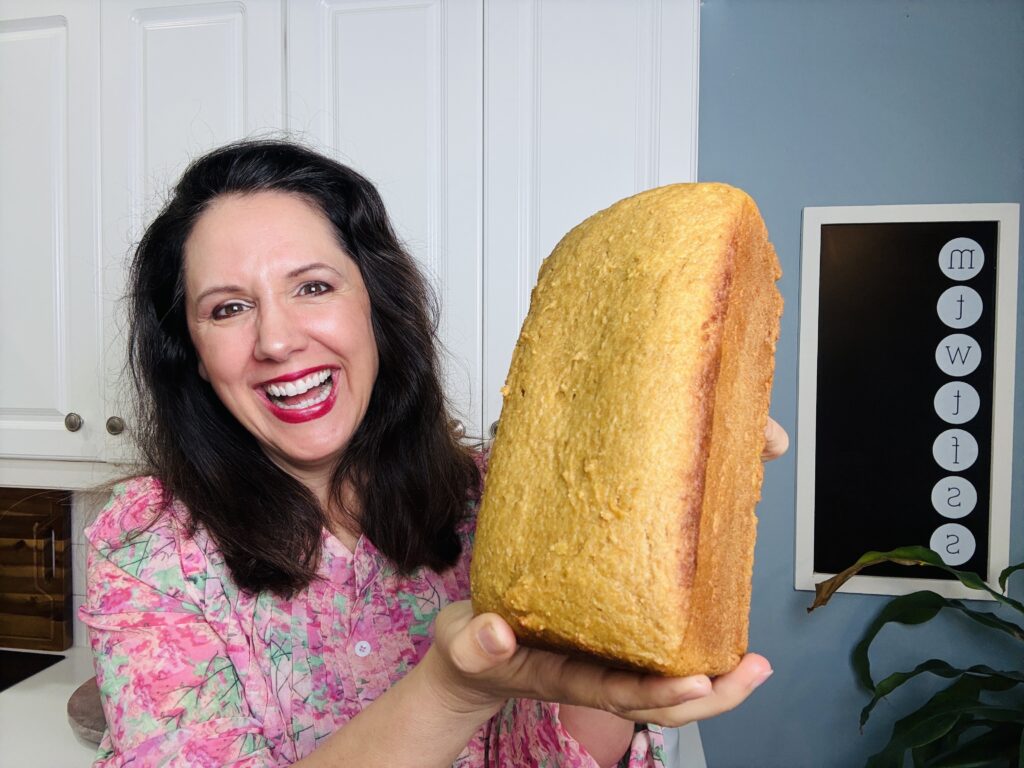
By Ashley from Fresh Flour Living
Prep: 20 min | Rise: ~1.5 hr | Bake: 30–35 min
This grain is over 10,000 years old — and it makes the most flavorful, nutrient-dense sandwich loaf you can bake at home. This recipe uses 100% fresh milled einkorn flour and a simple, beginner-friendly method that respects how this ancient wheat behaves differently from anything you’ve baked with before.
Watch the full step-by-step video on YouTube:▶ Watch: How to Make Einkorn Sandwich Bread
Subscribe to Fresh Flour Living on Youtube for more ancient grain recipes →
What Is Einkorn? Why Does It Matter?
Einkorn (Triticum monococcum) is the world’s oldest cultivated wheat. While modern wheat has been hybridized and modified over centuries to maximize yield, einkorn has remained genetically unchanged for more than 10,000 years. It is the original wheat grown exactly as our ancestors first grew it in the Fertile Crescent.
Higher Nutrition
Einkorn contains approximately 15% more protein than modern wheat, plus significantly higher levels of antioxidants, B vitamins, iron, and fat-soluble vitamins.
Simpler Gluten
Einkorn has a far simpler gluten structure than hybridized modern wheat. Many people who struggle with modern wheat digest einkorn much more comfortably. So this is so great for those that are sensitive to gluten.
Fresh Milled = Alive Flour
Milling right before baking preserves the bran, germ, and natural oils that are stripped from store-bought flour months before you buy it. This is why I am so passionate about milling your grains at home. It literally takes you 60 seconds!
Incredible Flavor
Einkorn has a naturally nutty, slightly sweet, almost buttery depth of flavor that modern wheat simply cannot match.
⚠ Important before you start: Einkorn behaves completely differently from modern wheat flour. It is stickier, more delicate, and requires less kneading. Understanding this before you begin is the difference between a beautiful loaf and a frustrating experience. Read the tips below before mixing.
Ingredients
Makes 1 loaf (approximately 12 slices)
- 1½ cups warm water (100–110°F / lukewarm)
- ¼ cup honey or pure maple syrup
- 2 tablespoons olive oil (plus extra for hands)
- 2 teaspoons active dry yeast
- 5 to 5 1/2 cups fresh milled einkorn flour (Azure Standard)
- 1 teaspoon salt
- 2 Cast iron bread pans
Step-by-Step Instructions
- Build the sponge base In your stand mixer bowl (or a large bowl if mixing by hand like I did in the video), combine warm water, honey or maple syrup, olive oil, yeast, and 2 1/2 cups of einkorn flour which is roughly half the total flour. Mix until all the dry flour is basically gone and then stop. Reason being, overmixing at this stage damages einkorn’s delicate gluten before it’s had time to develop.
- Rest for 10 to 15 minutes Cover the bowl and walk away for 10 to 15 minutes. This short rest does three things simultaneously: the yeast blooms, the flour hydrates fully, and flavor begins to develop. Think of it as a quick sponge method a technique that old-school bakers have used for centuries, and one that’s especially effective with einkorn’s sensitive structure.
- Add remaining flour and salt Add the remaining flour a little at a time, you notice in the video I did about 1/2 cup at a time. Then while you are adding the flour add 1 teaspoon of salt This is the only salt I use because it contains minerals. Then rest the dough for 30 to 45 minutes. The most important rule in einkorn baking: Do not keep adding flour to fix stickiness. Einkorn dough will always feel tacky — that is correct and normal. Adding too much flour results in a dense, heavy loaf that will never fully rise. The target is tacky, not sticky. We will add more flour in the next section. Also, this rest is going to allow the Einkorn dough to soak up more water!
- Knead lightly and shape Turn the dough onto a lightly floured surface. Put some flour on the side like I do in the video and get your dough scraper ready. This stainless steel dough scraper is amazing and I use it every single time I bake with Einkorn, and I also use it to clean up my counters because it scrapes off the sticky dough.
Knead just until the dough feels smooth and satiny. Oil your hands with olive oil if the dough sticks to them. Shape the dough into a loaf and place it into a greased cast iron loaf pan – I explain the importance of cast iron loaf pans in my video. If you decide to buy it, make sure to buy two because you need one to put on top of the bread. - Cover and let rise (about 1 hour) Cover the loaf pan with plastic wrap. I love these shower caps – I bought them because I can reuse them and they fit perfectly over my bowls. Plastic prevents a dry crust from forming on top during proofing. Let rise until the dough is cresting the rim of the pan or has roughly doubled in size. This typically takes about 1 hour, but your kitchen temperature will affect timing so it could take longer if your kitchen is warm or if it is cold! The Poke Test: Gently press one finger about half an inch into the surface of the dough. Springs back immediately? Needs more time. Doesn’t spring back at all? Over-proofed so your loaf will be flat. No worries, though because it will still taste good. Just use this as a learning tool like I do!
- Preheat oven to 450°F with cast iron pan inside Place a cast iron bread pan in the oven while preheating to 450°F. This is the setup for the oven spring technique.
- Bake with the steam method Place the proofed loaf in the oven. Set the hot cast iron pan on top of the loaf pan. Immediately turn the oven temperature down to 350°F. The initial 450°F blast creates oven spring which is basically a rapid burst of rise in the first few minutes that produces a lighter, more open crumb. Bake for 30 to 35 minutes. Doneness test: Insert an instant-read thermometer into the center of the loaf. When it reads 200°F (93°C), your bread is done. This is the most reliable method because guessing by color alone can result in underbaked einkorn, which will have a gummy crumb. By the way, I have done that too and it still will be good. Again, just chalk it up to a learning lesson 🙂
- Cool completely before slicing Remove the loaf from the pan immediately and set it on a wire rack. Allow it to cool completely before slicing; this is non-negotiable with einkorn. Cutting into a warm einkorn loaf results in a gummy, undercooked-feeling crumb. The bread continues to set as it cools. While it cools, I like to put on top of the bread to create a soft crust!
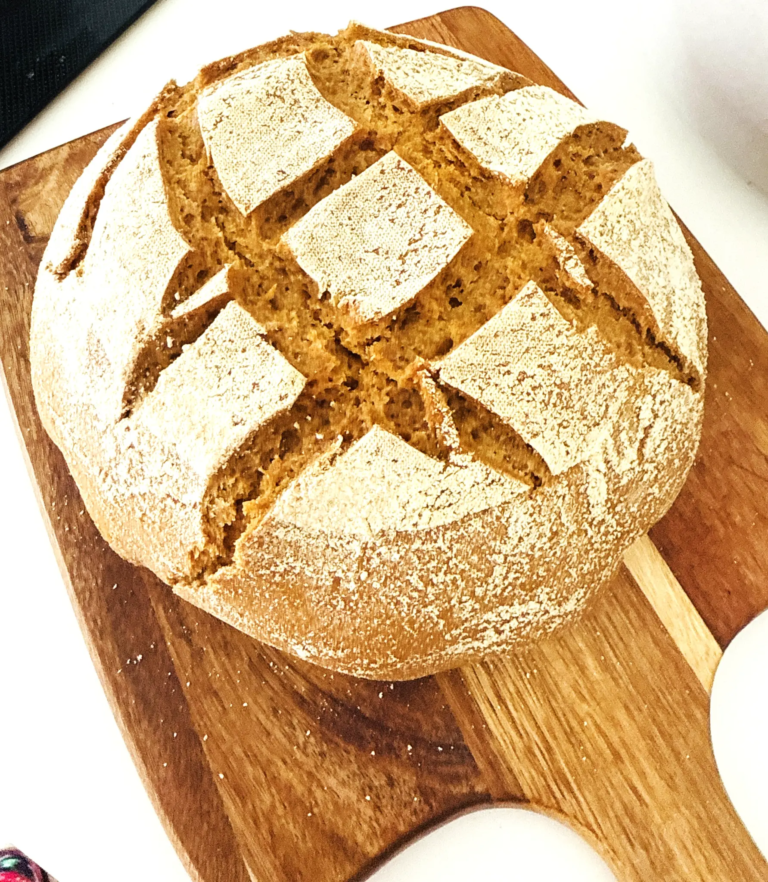
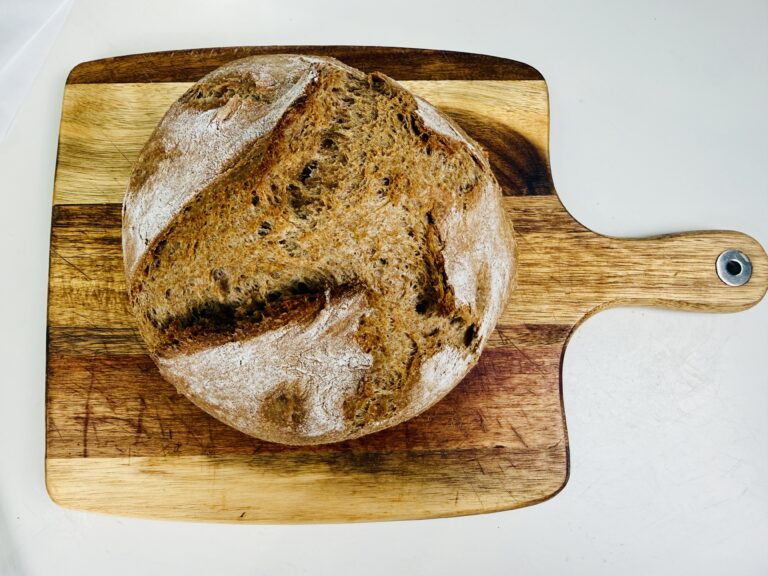
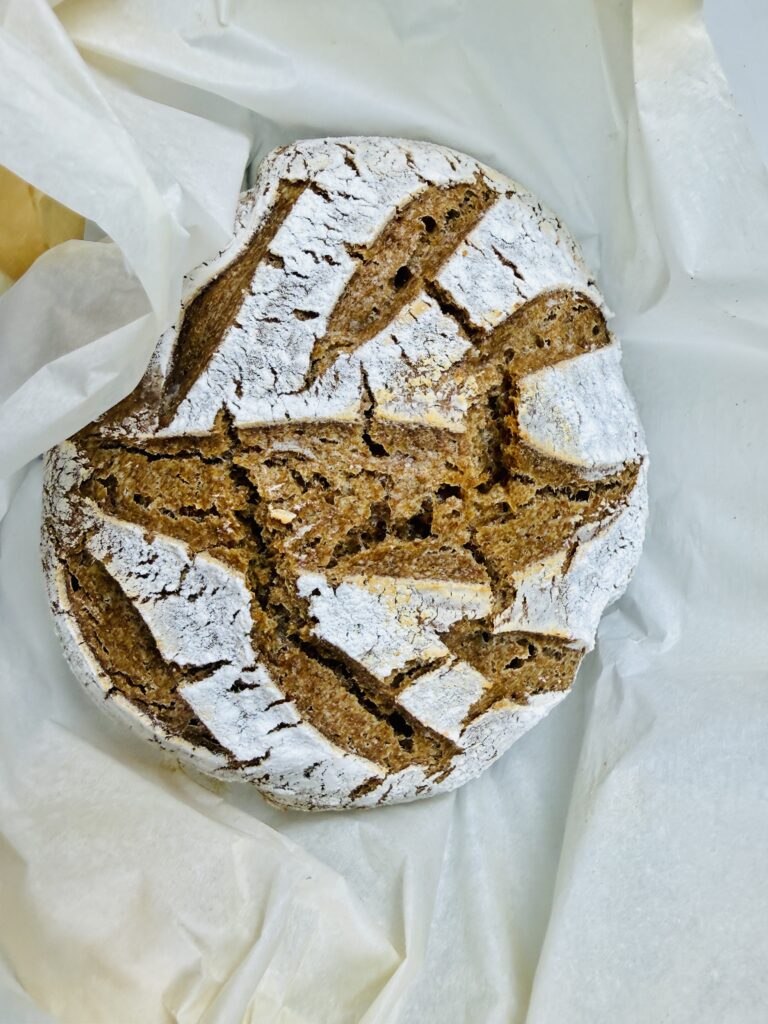
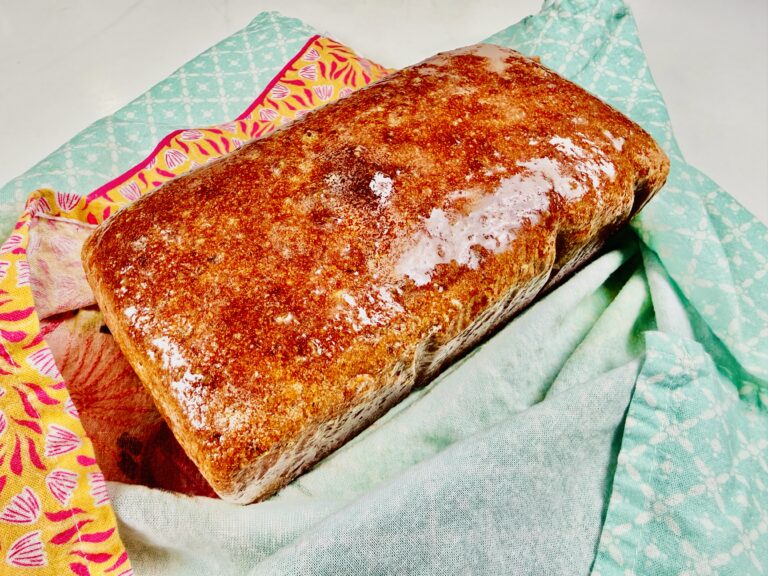
What to Expect from Your Einkorn Loaf
Einkorn sandwich bread has a tight, light crumb with a thin, slightly crisp crust. The color is a beautiful warm gold. The texture is tender and moist but less elastic than modern wheat bread, but never heavy when made correctly. The flavor is distinctly nutty, slightly sweet, and almost buttery. Many people describe it as bread that actually tastes like something because it has a richness and depth that store-bought bread can’t approach.
Tips for Success
On flour amount
The 4 to 5 1/2 cup range is intentional. Humidity, the coarseness of your mill setting, and even the age of your grain berries will affect how much flour you need. Always add flour gradually and if using a stand mixer just stop when the dough clings to the bowl.
On milling
Mill your einkorn berries right before baking. Fresh-milled flour absorbs water more actively than aged flour, so your dough will feel different on day one versus a flour milled a week ago. Plus you want to retain the most nutrients so I always mill my flour right before I bake. If I have left over, I put it in the freezer to preserve the nutrients and use for later.
On storage
Store the cooled loaf in a bread bag or I will put mine in a glass cloche too. Einkorn bread keeps well for 3–4 days at room temperature. For longer storage, slice and freeze because einkorn bread toasts beautifully from frozen.
Frequently Asked Questions
Can I use store bought einkorn flour instead of fresh milled?
Yes. Jovial Foods makes an excellent whole wheat einkorn flour that works well in this recipe. The dough may absorb water slightly differently than fresh-milled, so start with less water and adjust. Fresh milled will always give superior nutrition and flavor, but store-bought einkorn is still far superior to conventional wheat flour.
My dough isn’t rising. What went wrong?
The most common cause is inactive yeast. Check that your water was between 100–110°F because too hot kills yeast, too cold doesn’t activate it. Also check that your yeast is not expired. Einkorn bread rises more slowly than modern wheat bread, so give it the full hour before worrying.
Can I make this without a stand mixer?
Absolutely. I did in my video! Mix by hand in a large bowl using a spatula or Danish dough whisk for the initial sponge. For the knead, just a few gentle folds on a floured surface is all einkorn needs. It’s actually a very forgiving hand-bread because it requires so little physical kneading.
Is einkorn safe for people with celiac disease?
No. Einkorn contains gluten and is not safe for people with celiac disease. It is also not suitable for those with a wheat allergy. Many people with non-celiac gluten sensitivity report tolerating einkorn better than modern wheat, but this varies individually and is not a medical guarantee.
Where can I buy einkorn berries in bulk?
Azure Standard which is my favorite, Jovial Foods, and Breadtopia all carry organic einkorn berries. Buying in bulk (25 lb bags) is the most economical approach if you bake regularly. Store whole berries in an airtight container because they stay fresh for years, far longer than milled flour.
See this recipe come to life step by step, with tips you can’t get from text alone:▶ Watch the Full Video on YouTube
More ancient grain recipes on Fresh Flour Livingso subscribe so you don’t miss them.
Happing Baking ~ Ashley from Fresh Flour Living