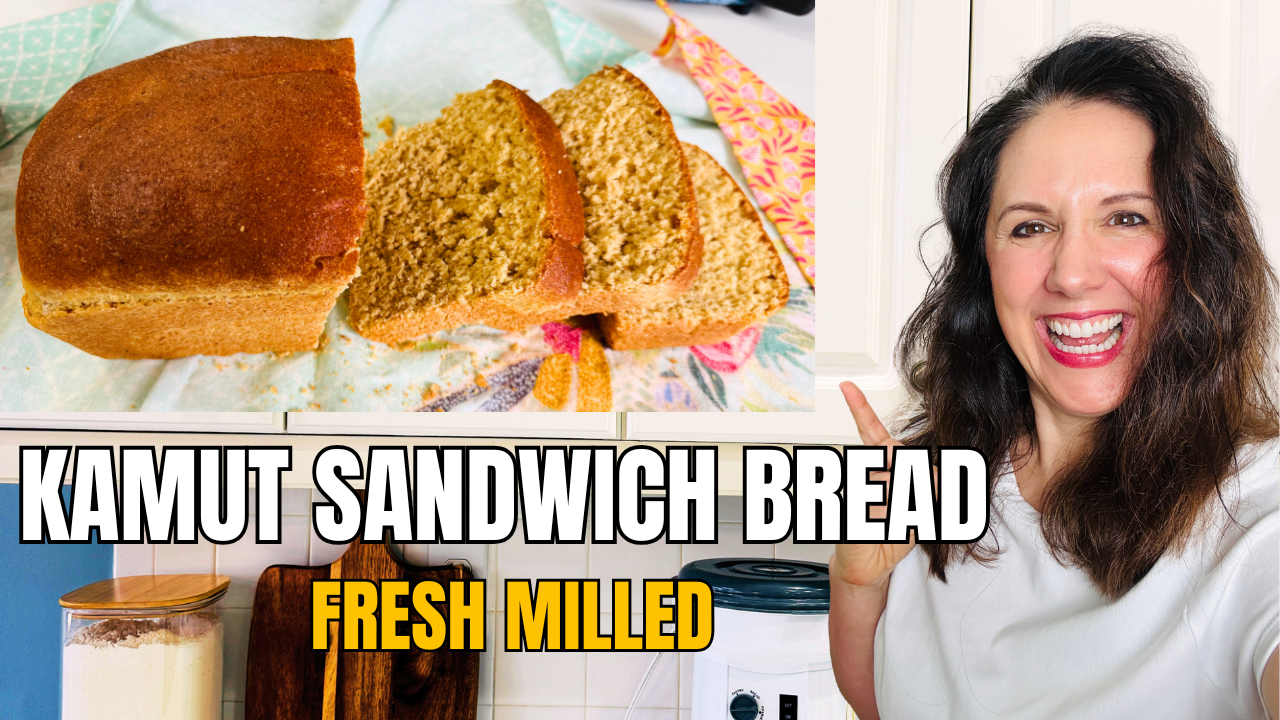
Kamut Hard White Sandwich Bread | Fresh Milled Flour Recipe (2 Loaves) — Fresh Flour Living

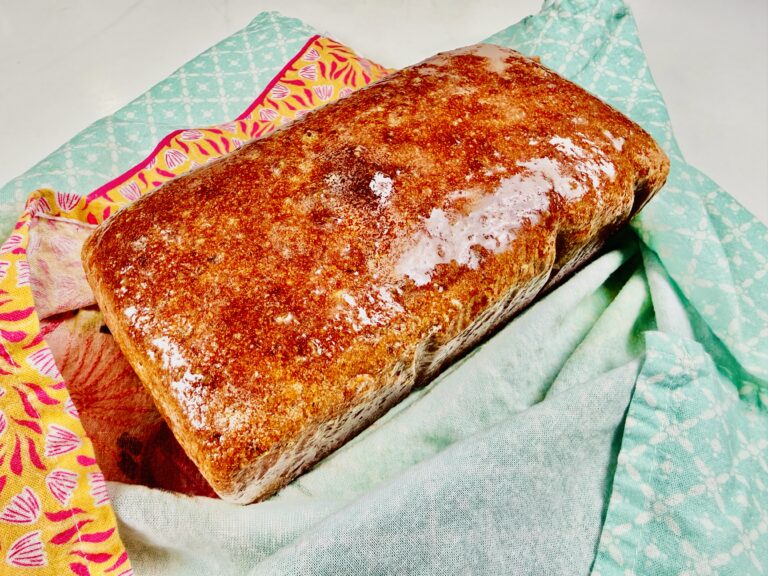
Two golden, soft loaves made with fresh milled hard white wheat and a touch of ancient Kamut grain — this sandwich bread is everything a homemade loaf should be. If you mill your own flour at home, this recipe is going to become a staple.

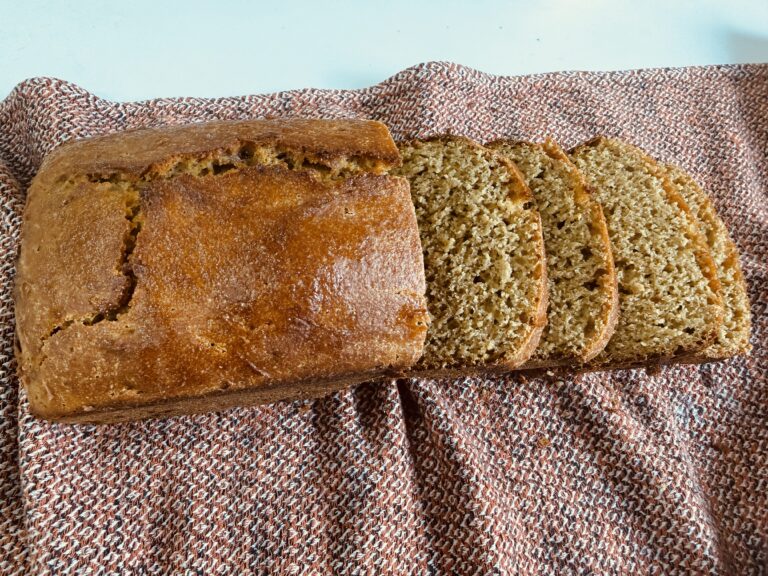
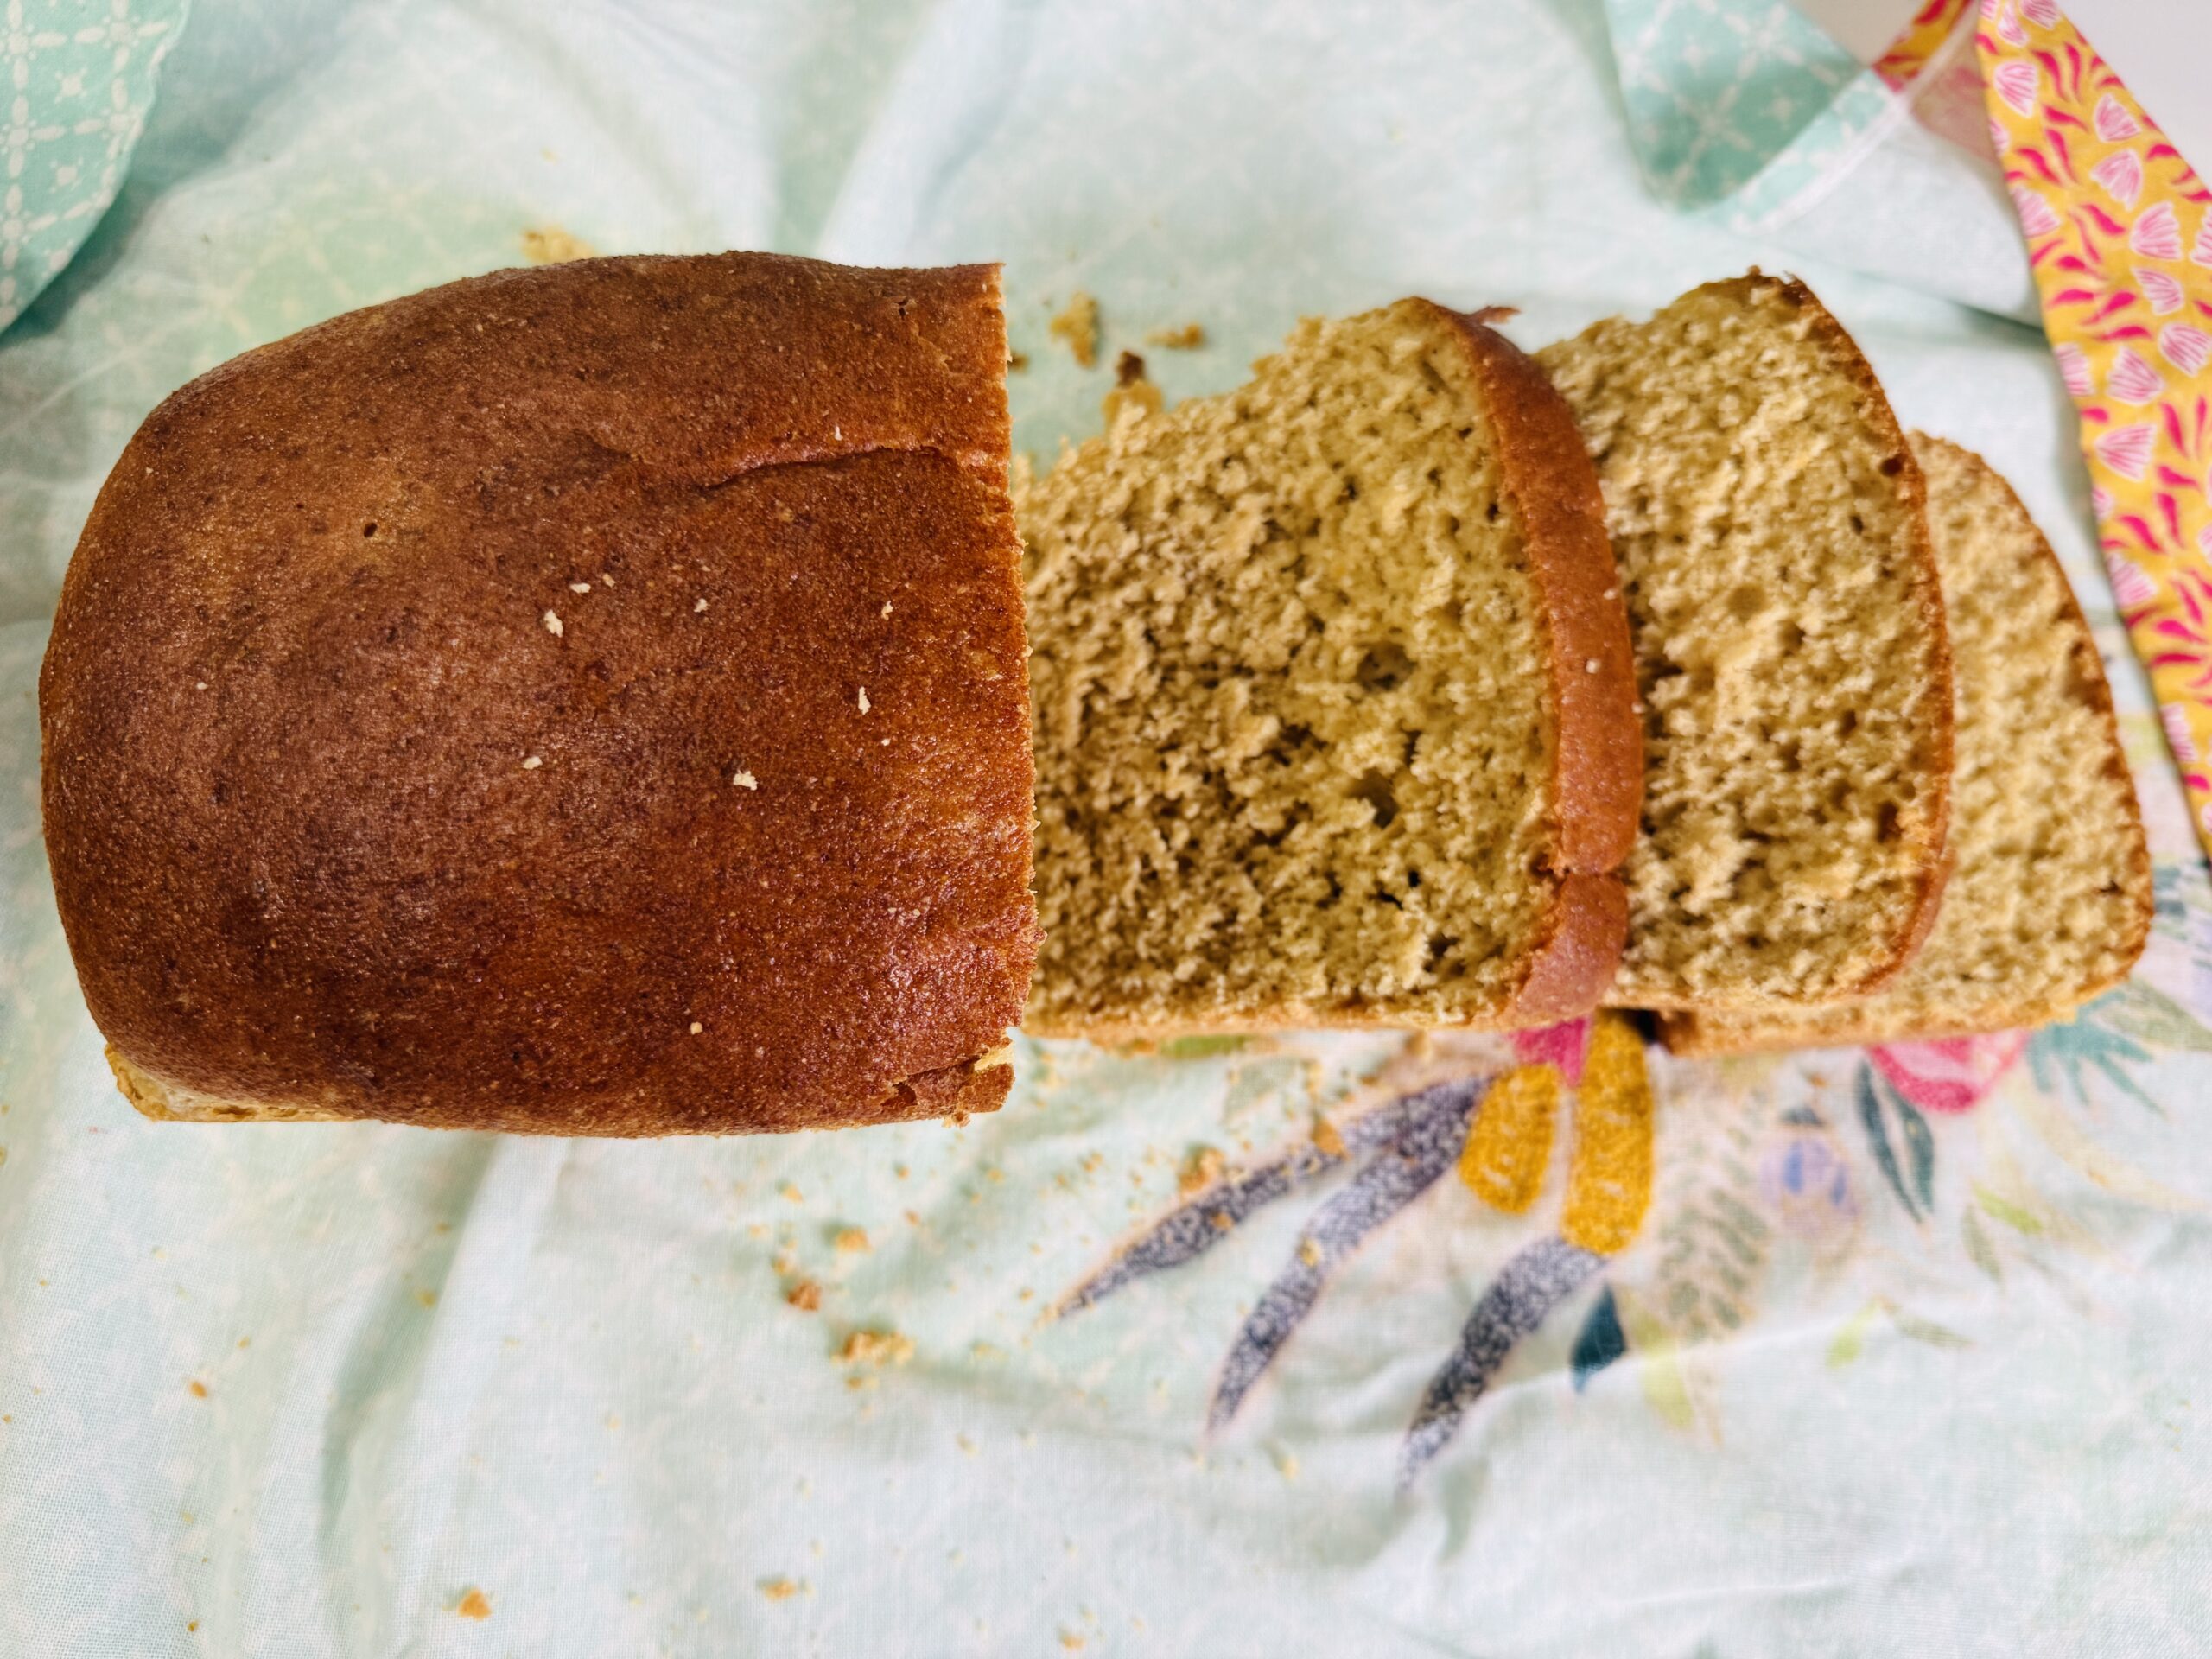
Welcome back to Fresh Flour Living! Today I’m sharing one of my most-requested recipes: a Kamut hard white sandwich bread made with fresh milled flour. This loaf has a beautiful golden color from the Kamut, a soft crumb, and the nuttery sweetness that only comes from freshly milled grain. Whether you’re new to fresh milling or a seasoned home baker, this one is approachable, forgiving, and absolutely delicious.
Watch the full video on my YouTube channel where I walk through every step so you can follow along in real time.
Why Fresh Milled Flour Makes Better Bread
When you mill your own wheat berries at home, you’re working with whole grain flour at its nutritional peak. The bran, germ, and endosperm are all intact, where nothing is stripped away and nothing is stale. Fresh-milled flour absorbs liquid differently than store-bought flour, which is why this recipe uses an autolyse rest and adds flour gradually. Once you bake with fresh flour, it’s hard to go back.
Kamut (also known as Khorasan wheat) is an ancient grain with a rich, buttery flavor and higher protein content than modern wheat. Blending it with hard white wheat gives you structure and that gorgeous golden color.
Ingredients
Makes 2 loaves
- 5 cups hard white wheat berries, fresh milled
- 1 cup Kamut wheat berries, fresh milled (fresh milled is best!)
- ½ cup extra hard white flour (milled and set aside, then add as needed for dough texture)
- 2 cups warm water
- ⅓ cup oil (avocado, coconut, olive, or your preferred oil)
- ⅓ cup honey
- 2 eggs
- 2 tsp salt
- 1 heaping tablespoon active dry yeast (or 1 tablespoon + ⅛ teaspoon)
Pro tip: Mill that extra ½ cup of hard white flour before you start. Humidity, grain variety, and how your dough is feeling that day can all affect how much flour you need. Having it ready means you won’t have to stop mid-knead.
Equipment You’ll Need
- Home grain mill (I use mine to mill fresh for every bake)
- Stand mixer or strong arms for kneading
Bosch Universal Mixer: https://amzn.to/4bH3YIq
Kitchen Aid Mixer: https://amzn.to/4w3s9cp - Two standard loaf pans (oiled)- love these cast iron pans – i bought two
- Shower caps for covering
- My Lime green Plastic dough scraper – https://amzn.to/46oJcef
- My Stainless Steel Bench scraper and dough cutter- https://amzn.to/4r0rm8P
More tools below….
Instructions
Step 1: Autolyse Activate Your Yeast (Rest 20 Minutes)
In a large bowl, combine:
- 4 cups of your fresh milled flour blend
- 2 cups warm water
- 2 eggs
- Yeast
- ⅓ cup honey
- ⅓ cup oil
Mix until just combined and don’t overwork it yet. Cover the bowl and let it rest for 20 minutes.
This resting period is called the autolyse, and it’s doing two important things: hydrating the flour fully (fresh milled flour needs extra time to absorb water) and giving your yeast a head start to activate and get bubbly. You should see the mixture puff up slightly and become more fragrant. This step is the secret to a better crumb and easier kneading.
Step 2: Add Remaining Ingredients and Build the Dough
After the autolyse rest, add:
- 2 tsp salt and flour
Now begin adding the remaining flour ½ cup at a time, mixing or kneading as you go. You’re looking for the dough to pull away cleanly from the sides of the bowl. I typically add about 2 more cups of flour at this stage, but go by feel because not all fresh milled flour behaves exactly the same.
This is where that extra ½ cup you milled comes in handy. Add it only if the dough still feels too sticky after the rest of the flour is incorporated.
Step 3: Knead for 20 Minutes
Knead the dough for a full 20 minutes. Yes, 20 minutes! Fresh milled whole grain dough needs this time to develop gluten properly.
You’re kneading until you pass the windowpane test: stretch a small piece of dough between your fingers. If it stretches thin enough to let light through without tearing, your gluten is fully developed, and you’re ready to shape.
If the dough tears immediately, keep kneading. This step cannot be rushed.
Step 4: Shape the Loaves (Jelly Roll Method)
Divide the dough in half. I love using the jelly roll method for shaping sandwich loaves as it creates a tight, even roll that bakes up beautifully with a uniform crumb.
Flatten the dough into a rectangle, then roll it up tightly toward you. Pinch the seam and place seam-side down in an oiled loaf pan.
Important: If the dough starts to tear while you’re shaping, stop what you’re doing. Cover it with a kitchen towel and let it rest for 5–10 minutes. The gluten just needs a moment to relax. If it continues to tear, that’s your signal that the dough needed a little more kneading so just make a note for next time, shape as best you can, and it will still bake up delicious. You got this 🙂
Step 5: Second Rise — 30 Minutes to 1 Hour
Place both pans in a warm, draft-free spot. Cover loosely and let the loaves rise until they reach the rim of the pan or rise about 1 inch above it.
Timing will vary based on your kitchen temperature. A warm spot near the oven or on top of the refrigerator works well. Don’t rush this step as a proper rise means a lighter, airier crumb. Mine usually takes an hour in my kitchen at 73 degrees.
Step 6: Bake at 350°F for 30 Minutes
While the loaves are rising, preheat your oven to 350°F and make sure your pans are well oiled.
Bake for 30 minutes until the tops are deep golden brown and the loaves sound hollow when tapped on the bottom.
Step 7: Cool Completely Before Slicing
Leave the loaves in the pans for 10 minutes after baking, then turn them out onto a clean kitchen towel. Let them cool wrapped in the towel for about 1 hour.
I know it’s tempting to slice right away, but cooling in a towel lets steam redistribute through the crumb so you’ll get a much better texture and the loaves will slice cleanly. Worth the wait every time.
🛒 TOOLS I USE IN MY KITCHEN:
🔥 Dutch Oven, safe for 500 degrees, essential for that crackly crust:
🍞 Cast Iron Loaf Pan, I bought two, one goes on top of the bread:
⚖️ Kitchen Scale, strongly recommended for accurate baking:
My FAVORITE Banneton Baskets:
https://amzn.to/4viDhks Oval
https://amzn.to/3SOvBc9 ROUND
BLUE Large Spatula: https://amzn.to/44XYBAP
BLACK Large Spatula: https://amzn.to/4h3HCEA
🌡️ Instant Read Kitchen Thermometer, takes the guesswork out:
🥣 Danish Dough Whisk, the best tool for mixing sourdough:
🟢 Lime Green Bowl Scraper, my favorite dough tool:
https://amzn.to/46oJcef
🩶 Stainless Steel Bench Scraper, cut dough and clean countertops
https://amzn.to/4r0rm8P
🧂Redmond Real Salt:
🥄 Spurtle, perfect for stirring and scooping sourdough starter:
🧤 Oven Mittens, for that HOT HOT Dutch oven:
https://amzn.to/4eI1VVa oven mitts
https://amzn.to/4eTiX2L with fingers
🚿 Shower Cap, my personal favorite way to cover dough:
🍯 Beeswax Bread Bag, for storing your finished loaf naturally:
🌟 Cute Star Shapes, optional but so fun:
🧺 Super Pretty Tea Towel, for covering your dough beautifully:
https://amzn.to/3R5vh8l
⏲️ My visual timer:
https://amzn.to/4t0MMUH
Bosch Universal Mixer: https://amzn.to/4bH3YIq
Kitchen Aid Mixer: https://amzn.to/4w3s9cp
📌 DISCLAIMER: As an Amazon Associate, I earn from qualifying purchases. I only share tools I personally use and love.
🔔 New videos every week! Subscribe so you never miss a recipe:
https://www.youtube.com/@freshflourliving
Fresh Milled Bread Tips
- Mill fresh, bake fresh. The flavor difference is significant when you use flour milled the same day.
- Autolyse is non-negotiable. Don’t skip the 20-minute rest as fresh milled flour needs that hydration time.
- Add flour slowly. Every batch of fresh-milled flour is slightly different. Add by the half cup and go by feel.
- Knead fully. Under-kneaded dough will tear during shaping and produce a dense loaf. Trust the window pane test.
- Cool in a towel. It keeps the crust from getting too hard and redistributes moisture for a soft crumb.
Frequently Asked Questions
Can I send you pictures of my bread? Yes!! Sign up for my substack here!
Can I use store-bought whole wheat flour instead of fresh milled?
You can, but the flavor and nutrition won’t be the same. Store-bought whole wheat flour is often months old by the time it reaches you. Fresh milled flour has more natural oils intact, better flavor, and higher nutritional value. If you’re considering a home grain mill, this recipe is a great reason to invest in one!
What is Kamut flour and where do I get it?
Kamut is a brand name for Khorasan wheat, an ancient grain with a rich, buttery flavor. You can buy Kamut wheat berries online like I do at Azure Standard and here is what I usually buy…. or at natural food stores and mill them yourself at home. It blends beautifully with hard white wheat for sandwich bread.
Can I substitute the honey?
Yes and I suggest maple syrup or sucanat work well. Honey adds moisture and a mild sweetness; just keep the measurement the same.
Why does my fresh milled dough feel stickier than regular dough?
Fresh milled whole grain flour absorbs water more slowly than refined flour. That’s exactly why we do the autolyse rest because it gives the flour time to hydrate fully before you add more. Don’t be tempted to dump in all the flour at once.
How do I store fresh milled bread?
Wrap them in a beeswax wrap at room temperature for up to 3 days. For longer storage, slice and freeze as fresh milled sandwich bread freezes beautifully.
More Fresh Milled Bread Recipes on Fresh Flour Living
If you loved this Kamut hard white sandwich bread, you might also enjoy:
- 100% Hard White Sandwich Bread
- Same Day Einkorn Sourdough Boule
- Einkorn Brownies – OH my word – so moist!!
- All My Bread Videos
Subscribe to the Fresh Flour Living YouTube channel for weekly fresh milled recipes, grain milling tips, and real kitchen moments. Because baking from scratch is a skill worth learning.
Also, I read every email and you can subscribe to my SUBSTACK. You will receive a Conversion Cheat sheet in your welcome email.
Excited to hear from you and happy Baking ~ Ashley 💛🍞
Kamut Sandwich Bread Recipe | Freshly Milled
Ingredients
Method
- Mix 4 cups flour, 2 cups warm water, 2 eggs, yeast, mix, cover, and rest for 30 minutesNext add 2 tsp salt, honey, and oil; add ½ cup flour at a time and knead until flour pulls off the side of the bowl. For reference, I usually add 2 cups here. Watch my YouTube video to see how I do this.Knead for 20 minutes until you get a windowpane.Shape: I like my jelly roll method. Fyi, if it breaks, stop and cover with a towel to relax. If it continues to break, you didn’t knead it long enough, so just know that for next time. Put in pans and cover in a warm spot for 30 minutes to 1 hour or until it rises to the rim or 1 inch above the rim. Could be longer depending on the temperature of your kitchen.Oil pans and preheat to 350°F and cook for 30 minutesLeave in the pan for 10 minutes and rub butter on the tops of the bread loaves, then sit in a towel until cool. Probably an hour. Happy Baking ~ Ashley | Fresh Flour Living 💛🍞