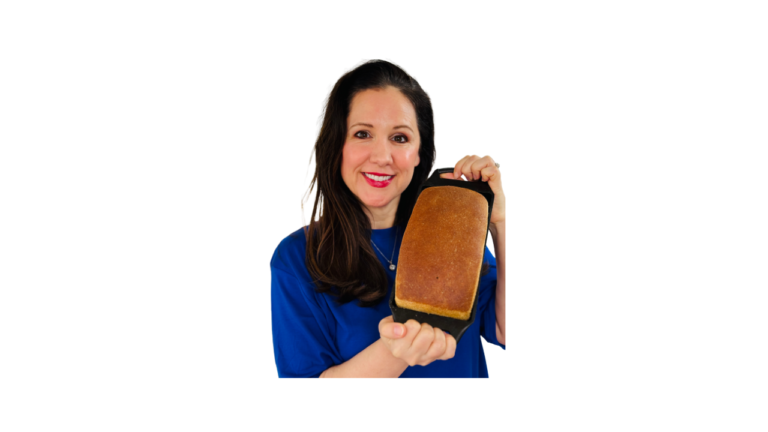
Freshly Milled Spelt Sourdough Sandwich Bread (No Mixer) | Fresh Flour Living
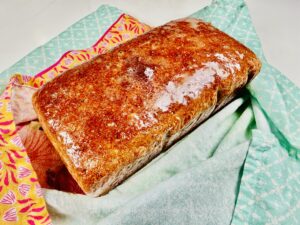
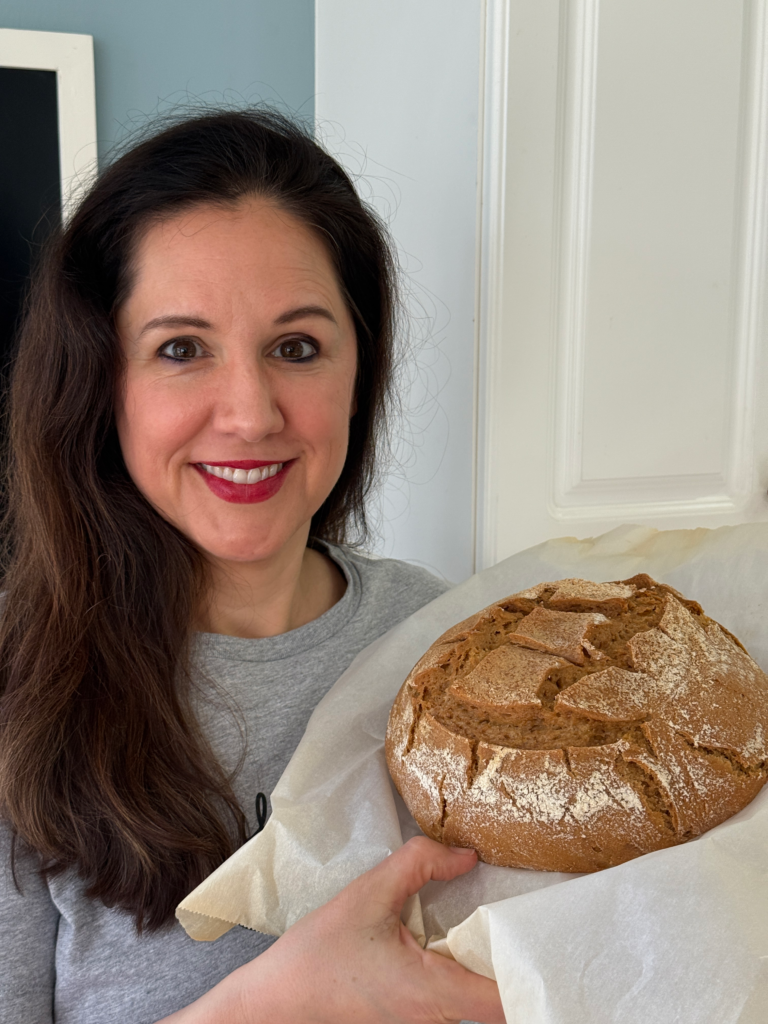
Soft, tangy, and baked in a cast iron loaf pan. This freshly milled 100% spelt sourdough is everything a real bread should be. One loaf. No mixer. Just your hands, a bubbly starter, and the ancient grain that started it all.
What You’ll Find in This Post
- Why spelt sourdough is different from regular sourdough
- The exact recipe for one loaf of spelt sourdough sandwich bread loaf (by weight and volume)
- Step-by-step instructions written for real home bakers
- The number one trick for getting a beautiful oven spring every single time
- Answers to the most common spelt sourdough questions
Why Spelt Sourdough? (And Why Freshly Milled Makes All the Difference)
Watch the Video here with me, Ashley 🍞💛
Connect with me here on Substack
If you’ve ever tried to swap spelt flour into a regular sourdough recipe and ended up with a flat, gummy brick, you’re not alone. Spelt is not modern wheat. Its gluten is more fragile, more extensible, and far more sensitive to overworking. That’s not a flaw. That’s just its nature, and once you learn to work with it, spelt sourdough bakes into something genuinely special.
Freshly milled spelt flour takes this to another level entirely. When you mill your own flour from whole spelt berries right before baking, you preserve the bran oils, the enzymes, and the full nutritional profile that commercial flours lose in processing and storage. The flavor is nuttier, more complex, and more alive than anything you’ll find in a bag at the grocery store.
At Fresh Flour Living, this is what we do. We bake with freshly milled flour, we use active sourdough starters, and we treat every loaf like it matters, because it does.
Spelt Sourdough vs. Regular Sourdough: Key Differences
Before you bake, here’s what you need to know:
Spelt gluten tears easily. Unlike modern bread wheat, spelt’s gluten bonds are weaker. This means you never knead spelt sourdough the traditional way. Instead, you use gentle stretch and fold techniques and you stop before the dough feels “done.”
Spelt ferments faster. The enzymes in spelt (especially freshly milled spelt) are highly active. Bulk fermentation moves quickly. A dough that has been overproofed looks identical to one that’s ready. You need to watch for the 50% rise, not a full double. I have left mine alone and came back to the dough oozing down the sides of my cast iron bread pans. Oops!
Spelt doesn’t need to double. This surprises most bakers. With spelt sourdough, you’re looking for a 50% rise during bulk ferment, and a crown that just crests wither at the rim or just above the rim during final proof. Double it, and you’ve gone too far.
Spelt bakes to a higher internal temperature. Spelt sourdough needs to reach 200 to 205 degrees Fahrenheit internally to fully set the crumb, slightly higher than conventional yeast bread. Don’t skip the thermometer.
The Recipe: Spelt Sourdough Sandwich Bread (1 Loaf, By Hand)

Ingredients
| Ingredient | Weight | Volume |
|---|---|---|
| Freshly milled spelt flour | 360 grams | 3 cups |
| Water, room temperature | 295 grams | 1 1/4 cups |
| Honey | 21 grams | 1 tablespoon |
| Active sourdough starter | 75 grams | 1/3 cup |
| Salt | 6 grams | 1 teaspoon |
Important: If possible, use freshly milled spelt flour for best results. Pre-milled spelt flour absorbs water differently and may require hydration adjustments.
Equipment You’ll Need
- Kitchen scale (strongly recommended)
- Large mixing bowl
- Cast iron loaf pan – I bought two of these to have one on top of bread
- Beeswax Bread Bag
Parchment paper - Kitchen thermometer (instant-read)
- Shower cap (my personal favorite ) Damp towel or beeswax wrap for covering dough
- Lime Green Bowl Scraper
- Spurtle to stir and scoop sourdough starter
- Spelt Berries Organic: https://amzn.to/4eV3e3p
- Optional Cute Star Shapes that I used in my fresh flour living video ✨
- Super pretty tea towel to cover bread
- Danish Dough Whisk to mix the ingredients
Step-by-Step Instructions
Step 1: Feed Your Starter (4 to 8 Hours Before Baking)
Make sure your sourdough starter is active and bubbly before you begin. Feed it 4 to 8 hours before mixing your dough and use it at peak, when it’s domed, bubbly, and passes the float test.
Why this matters for spelt: A weak or sluggish starter is the number one reason spelt sourdough fails. Spelt’s gluten structure is more delicate than modern wheat. It cannot compensate for an underperforming starter the way bread flour can. If your starter isn’t enthusiastically active, wait. The bread is worth it.
Step 2: Mix the Dough
In a large bowl, combine:
- 295g room temperature water
- 21g honey
- 75g active, bubbly starter
Stir to dissolve and combine. Add 360g freshly milled spelt flour and mix until just combined. No dry streaks, no lumps, but no more than that.
Do not over-mix. Spelt gluten tears easily under pressure. The goal is incorporation, not development. A shaggy, rough-looking dough at this stage is perfectly normal and exactly right.
Cover the bowl and let it rest for 30 minutes.
Step 3: Add Salt and Begin Stretch and Fold
After the 30-minute rest, sprinkle in 1 teaspoon of salt (this is my fav brand of salt because it’s unrefined and contains minerals) and work it into the dough with your fingers.
Why add salt after? Mixing without salt gives the spelt gluten a head start on forming structure before the salt begins tightening things up. The result is a better rise, a fluffier crumb, and more oven spring. This is the Fresh Flour Living method, and it works.
Once the salt is incorporated, begin your first round of stretch and folds.
How to stretch and fold spelt dough:
- Wet your hand slightly to prevent sticking
- Grab one side of the dough, stretch it upward until you feel resistance (not until it tears), then fold it over the top
- Rotate the bowl 90 degrees and repeat. Four folds total per round.
- Be gentle. You are not kneading. You are building structure, slowly.
Step 4: Bulk Fermentation
Do 4 rounds of stretch and folds spaced 30 minutes apart (2 hours total). After the final fold, cover the dough and let it rest undisturbed.
Temperature matters:
| Kitchen Temp | Additional Rest Time After Final Fold |
|---|---|
| 75 to 78 degrees F (warm) | 1 hour |
| Around 73 degrees F (cooler) | 2 hours |
You are watching for a 50% rise, not doubled. Spelt sourdough does not need to double. When the dough has grown by about half, looks slightly puffy, and has some bubbles visible near the edges, it’s ready to shape.
Step 5: Shape
Turn the dough gently onto a lightly floured surface. Using a bench scraper and your hands, fold the edges in toward the center, then flip the dough and use the scraper to drag it toward you in a smooth, circular motion to build surface tension.
Do not deflate the dough. Handle it with care. Watch how I do it here.
Transfer to a parchment-lined cast iron loaf pan, seam side down. Smooth the top gently if needed. Cover with a damp towel or wrap.
Step 6: Final Proof
Proof at room temperature until the dough crowns at or just above the rim of the pan. This may take 1 to 3 hours depending on your kitchen temperature and starter strength.
Do not let it over-proof. If the dough is doming above the rim and looks airy and jiggly, it’s ready. Bake it now.
Refrigerator proof option: You can cold-proof overnight (8 to 12 hours in the refrigerator) after shaping. Bake straight from the fridge with no need to come to room temperature first.
Step 7: Bake
Preheat your oven to 425 degrees F with the lid on your cast iron loaf pan. This is why I bought two of these cast iron pans.
The Fresh Flour Living two-temperature baking method:
- 425 degrees F, covered for 15 minutes (steam builds inside the pan, giving you oven spring and a soft crust)
- Reduce to 375 degrees F, uncovered for 30 minutes (the crust sets and develops color)
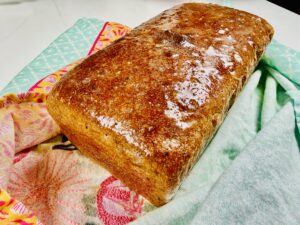
Why two temperatures? Starting hot with steam gives the dough one final burst of rise before the crust locks in. Finishing lower and uncovered ensures the interior cooks fully without burning the crust. This is the trick to a golden, crackly, perfectly baked spelt sourdough loaf.
Check internal temperature: The bread is done when it reaches 200 to 205 degrees F in the center. Spelt sourdough needs a slightly higher internal temp than yeast bread to fully set the crumb. A thermometer is your best friend here.
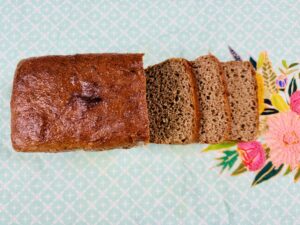
Remove from the pan and cool on a wire rack for at least 1 hour before slicing. Cutting too early will give you a gummy crumb.
Troubleshooting: Common Spelt Sourdough Problems
My loaf came out flat and dense.
The most likely cause is a weak starter. Spelt cannot compensate for low fermentation activity the way strong bread flour can. Feed your starter and wait until it’s visibly bubbly and active before using it. Also check whether you overproofed. Spelt overproofing leads to collapse.
My dough tore during stretch and fold.
You’re working it too hard. Spelt gluten is fragile. Use slower, gentler movements, and wet your hand before each fold. If it starts tearing, stop and let it rest another 15 minutes.
My bread has a gummy center.
Either it was under-baked (check internal temperature, it should hit 200 to 205 degrees F), or it was sliced too soon. Cool completely before cutting.
My crust is too hard.
Try storing in a paper bag or wrapping in a linen cloth after it cools. A plastic bag will soften it but may make it too soft. Alternatively, reduce the final bake time by 5 minutes. I also like to top the bread with butter during the cooling phase for a softer crust.
The dough doubled during bulk ferment. Is it over-proofed?
Possibly, yes. Spelt sourdough only needs a 50% rise. If it fully doubled, your kitchen may be warm or your starter very active. Next time, check earlier and reduce the rest time after the stretch and fold rounds.
Frequently Asked Questions
Can I use store-bought spelt flour instead of freshly milled?
Yes, but hydration may need to be reduced slightly. Store-bought spelt flour is drier and may absorb water differently. Start with 270g of water and adjust from there.
Can I make this recipe without honey?
Yes. Honey adds a very subtle sweetness and helps with browning, but the recipe will work without it. Maple syrup is a common substitute.
How do I know my sourdough starter is active enough for spelt?
It should be bubbly, domed, and at or near peak rise, usually 4 to 8 hours after feeding at room temperature. If it passes the float test (drop a small spoonful in water; if it floats, it’s ready), you’re good to bake.
Can I double this recipe?
Yes. Scale all ingredients by weight. The timing for stretch and fold and bulk fermentation stays the same.
Can I bake this in a Dutch oven instead of a cast iron loaf pan?
You can, but spelt dough is quite slack and soft and holds its shape better in a pan. If using a Dutch oven, score the dough quickly and bake covered for 20 minutes at 450 degrees F, then uncovered at 375 degrees F for 25 minutes.
What hydration is this recipe?
Approximately 82% hydration (water plus starter water relative to flour). This is on the higher end for spelt and produces the soft, open crumb Fresh Flour Living is known for.
How do I store spelt sourdough bread?
Wrap in a linen cloth or store in a paper bag at room temperature for up to 3 days. I also love these bread bags and own several. It’s so great to also transfer your bread to your family if giving gifts or just sharing. For longer storage, slice and freeze. Spelt sourdough freezes beautifully.
Nutrition Notes on Freshly Milled Spelt
Spelt is an ancient grain with a notably different nutritional profile from modern wheat. It is higher in protein and contains a broader range of minerals including iron, magnesium, and zinc. It is not gluten-free. Spelt contains gluten, though many people who are sensitive to modern wheat find spelt more digestible. Those with celiac disease should not substitute spelt for gluten-free flours.
Freshly milled spelt retains the bran and germ that are typically removed in commercial processing, which means more fiber, more nutrients, and more flavor in every slice.
About Fresh Flour Living
Fresh Flour Living is a home baking blog dedicated to the art of milling your own grain and baking bread the slow, intentional way. Every recipe here is developed and tested in a real home kitchen with no commercial equipment and no shortcuts that sacrifice quality.
If you believe great bread starts with great flour, flour you milled yourself this morning from grain you can name, you’re in the right place.
More Recipes You’ll Love
- Homemade Chocolate Bread (Freshly milled)
- Einkorn Sourdough Sandwich Loaf
- Soft and Fluffy Freshly Milled Sandwich Bread
Did you bake this recipe? Leave a comment on my Youtube channel or on my SUBSTACK as I read every single one! Fresh Flour Living readers love hearing how it turned out for you.
Happy Baking – Ashley💛🍞
Youtube Channel

DISCLAIMER: As an Amazon Associate, I earn from qualifying purchases. I only share tools I personally use and love.
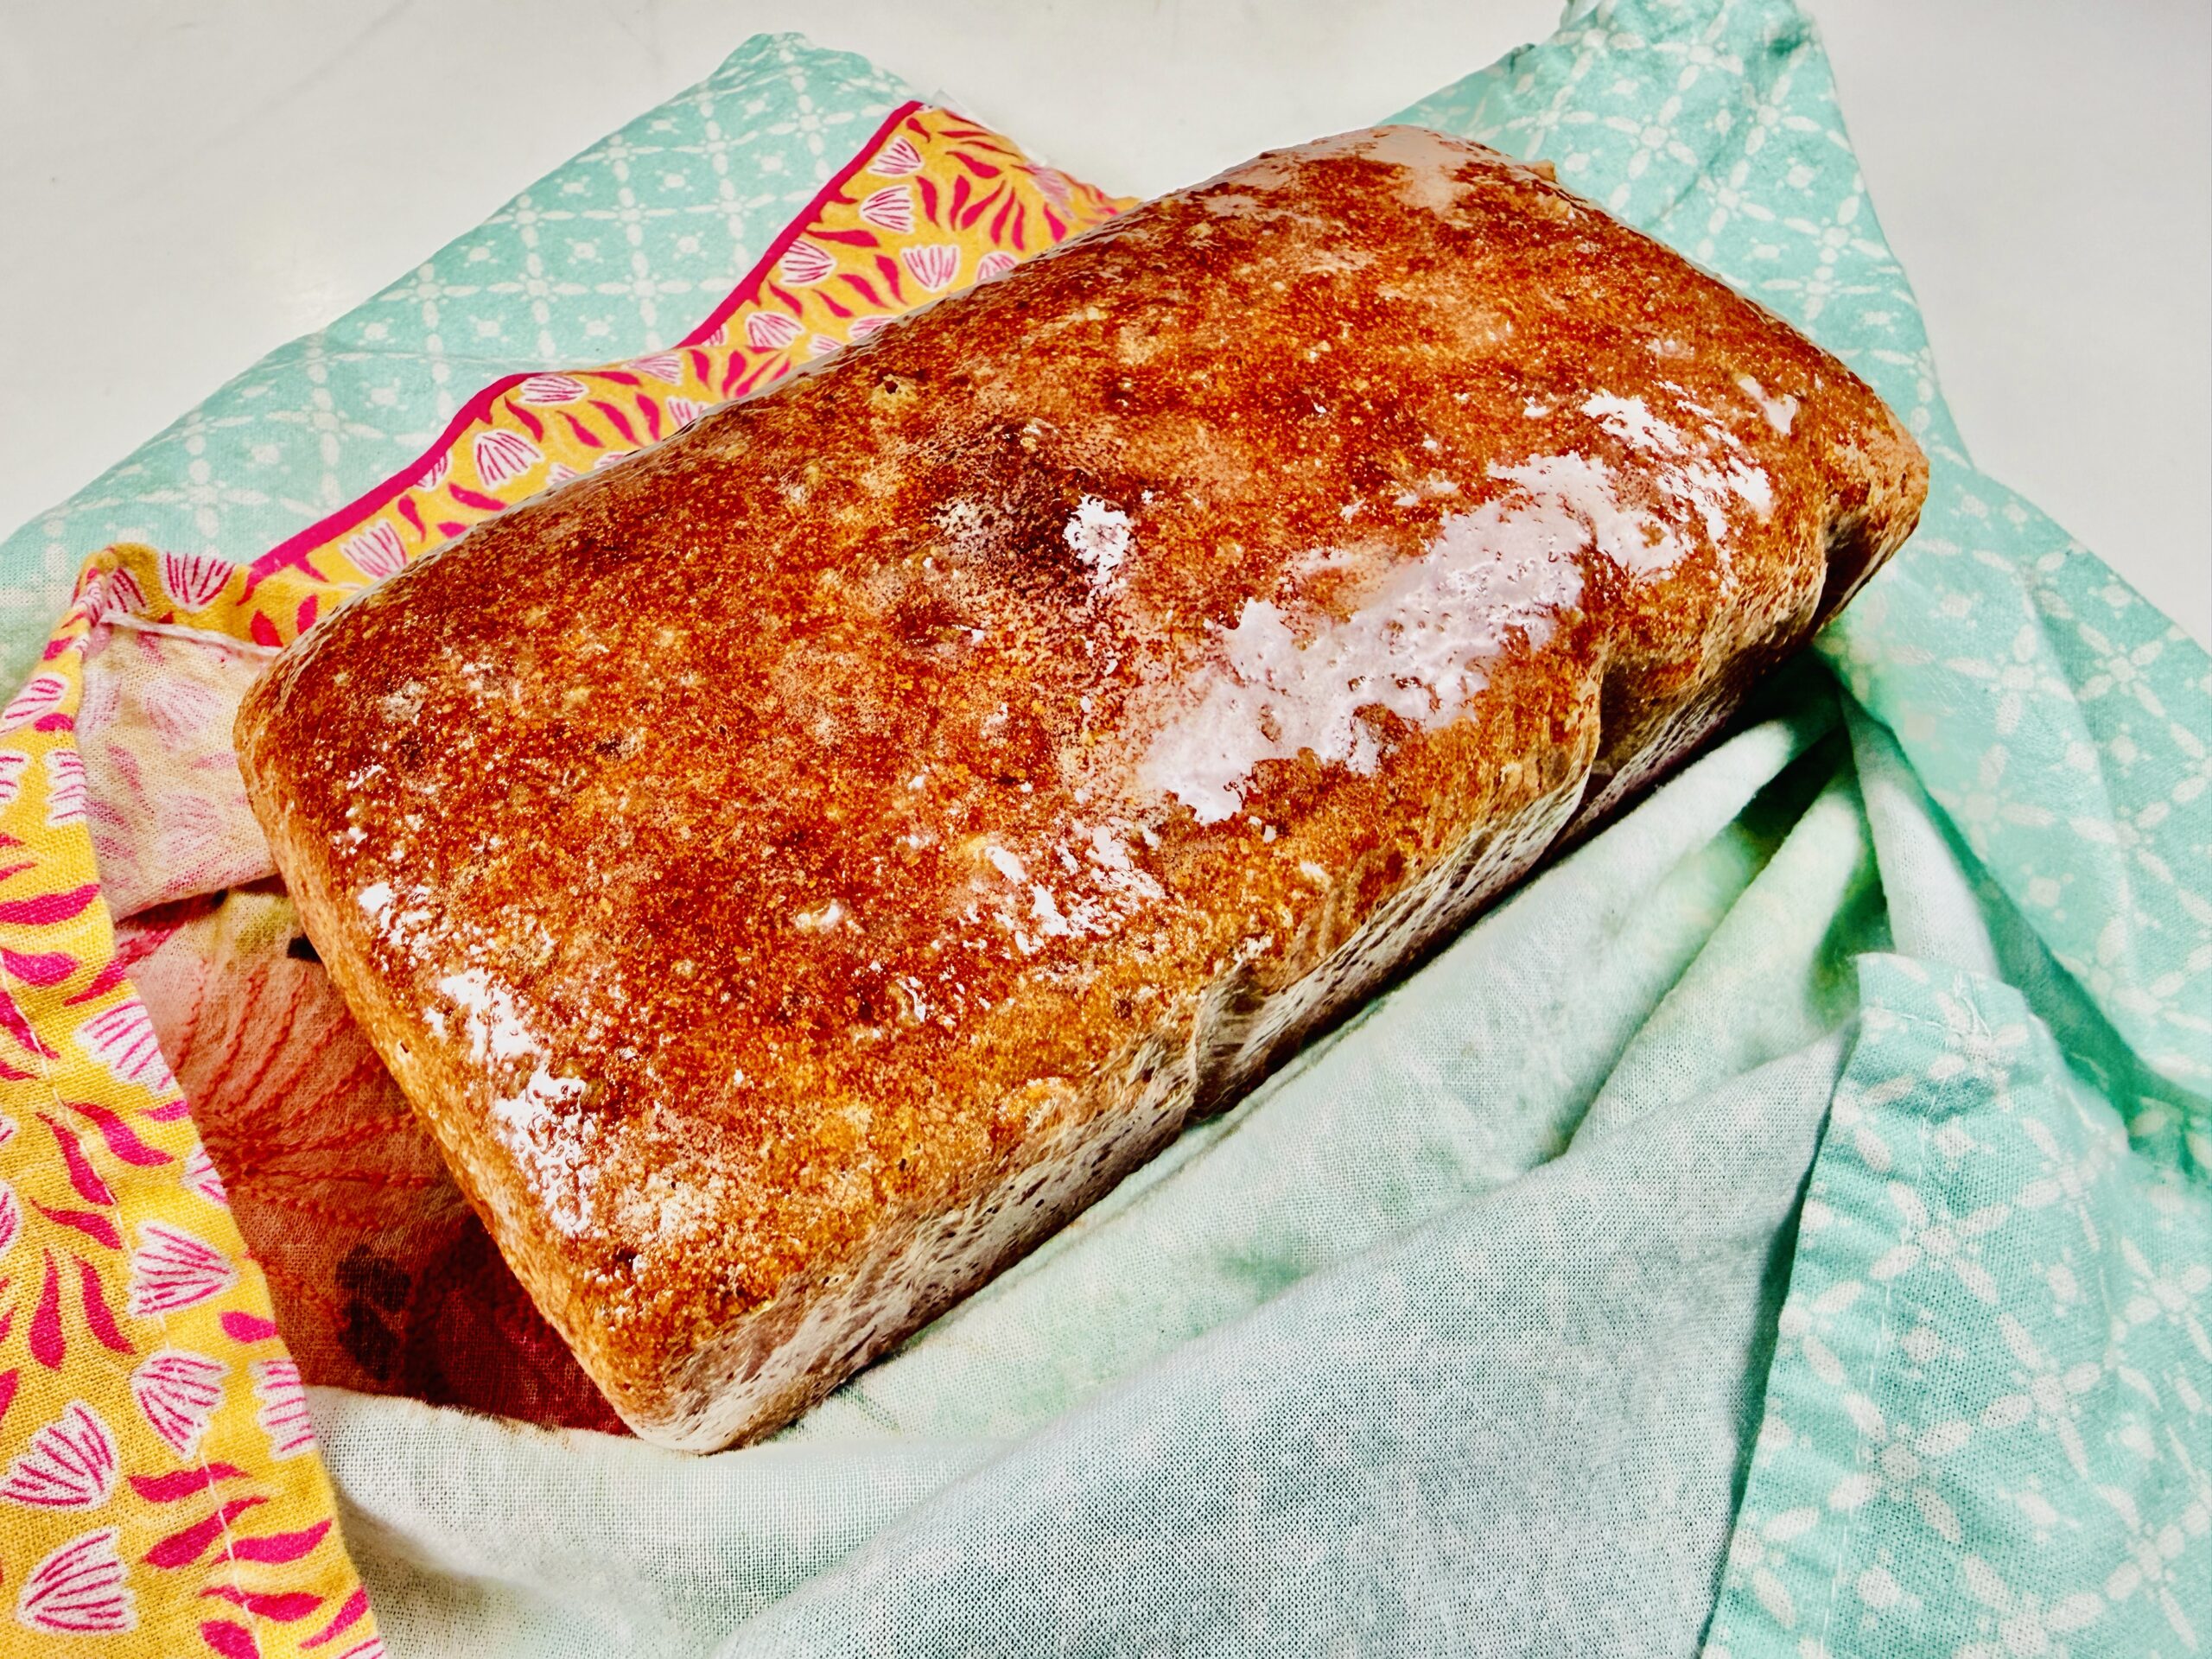
SPELT SOURDOUGH 1 LOAF with NO MIXER
Ingredients
Method
- Feed starter: Use an active, bubbly starter (fed 4–8 hours before mixing)Mix dough: Stir together water, honey, and starter. Add spelt flour and mix just until combined. Rest 30 minutes.Add salt: Mix in salt, then perform 4 sets of stretch & folds every 30 minutes (2 hours total).Bulk ferment: Cover and let rise 50% (about 1 hour at 75–78°F or 2 hours at 73°F).Shape & proof: Gently shape, place in a parchment-lined cast iron loaf pan, cover, and proof until the dough rises just above the rim.Bake: Bake covered at 425°F for 15 minutes, then 375°F for 30 minutes.Done: Bread is ready when the internal temperature reaches 200–205°F